The Narrowest Floor Detail: Making Stone Transitions Work in UK Homes

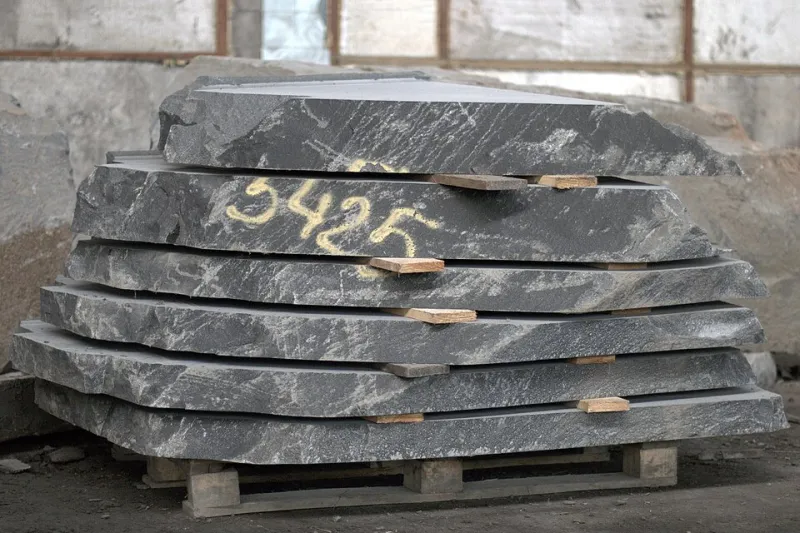
Photo: sagesolar, CC BY 4.0, via Wikimedia Commons
A stone threshold is easily overlooked until it fails. It sits in the busiest line of a doorway, where two floor finishes, two substrates and often two rooms with different expectations meet. In a British home the strip may separate a stone kitchen floor from an oak hall, a tiled bathroom from a carpeted landing, or a warm interior from a draughty external door. The detail is narrow, but the brief is broad: it must support footfall, accommodate movement, respect door clearances, reduce draughts where required and look as though it belongs.
Begin with the height budget
Threshold specification should start with finished floor levels, not with a profile chosen from a catalogue. Measure the structural floor, then add insulation, screed, underlay, adhesive, tile or stone, carpet and any acoustic layer. The resulting difference between rooms determines whether a flush transition is possible, whether a reducer is needed or whether the design must be revised before work begins.
A common error is to reserve threshold depth only after the stone has been ordered. Natural stone is usually supplied in fixed thicknesses, and reducing a 20 mm slab to 12 mm may be impractical or visibly compromise the edge. It is better to set the threshold thickness early, then adjust adhesive beds, underlay or floor build-up around it. Door clearances should be checked at the same stage. Internal doors typically need a small gap above the finished floor, but fire doors and doors with smoke seals should not be planed down casually to solve a threshold problem. If the threshold consumes the clearance, the door or the floor build-up needs rethinking.
Level changes and accessible routes
The guidance in Approved Document M points towards level or gently ramped transitions on accessible routes. In domestic projects this is often interpreted through practical details: small upstands at bathroom doors, abrupt lips between hall and kitchen, or a raised stone strip that catches a wheelchair castor or a walking frame. A chamfer helps, but it is not a substitute for a properly graded transition where level access is expected.
Where a change in level is unavoidable, keep it modest, visible and consistent. A shallow slope should be formed in the threshold itself or in the adjacent floor finish, not improvised with a loose strip. The same principle applies at external doors, where a threshold may need a slight upstand to manage weather but must still allow safe passage. The junction should be agreed between the stone supplier, joiner and flooring contractor rather than left to the last trade on site.
Movement must be designed in
Stone is relatively stable, but the substrates beneath it are not. Timber floors expand and contract, screeds move, and long stone runs require movement joints. A threshold is a sensible place to terminate a stone field or to introduce a movement joint, provided the detail is not rigidly bridged by a continuous bed of adhesive.
At a stone-to-timber junction, avoid pinning the stone directly to the timber floor. The timber must be free to move, while the stone edge needs full support. A separate transition strip fixed to the stone side, with a small allowance at the timber side, is often more robust than a single piece spanning both. Where underfloor heating is present, the threshold should respect the heating zones and the recommended movement joints. Flexible sealant at perimeters and at abutments is usually more appropriate than rigid grout.
Four junctions that repay attention
Stone to timber. A reducer or flush strip can work well, but the timber side needs room to move. Fixings should not pass through the stone. The edge of the stone should be supported along its full length, and the transition should be set out so that any slope falls away from the main walking line rather than creating a trip.
Stone to carpet. Carpet has thickness and compressibility, so the threshold must hold the pile down without crushing it. A stone or metal edge can provide a clean line, but the carpet gripper and underlay need to be detailed so that the transition does not rock. In doorways, check the carpet thickness against the door swing before the threshold is fixed.
Stone to tile. Two hard finishes can meet neatly, but only if the substrates are stable and the joint is designed as a movement joint where appropriate. A narrow stone strip can look too mean in a wide opening; width should relate to the door lining and the surrounding floor pattern.
Stone to external door. Here the threshold has to manage water, draughts and thermal performance as well as appearance. A proprietary door threshold with a weather seal may be more appropriate than a decorative stone strip alone. The stone should not create a bridge that defeats the door's weather seal.
Profiles, width and finish
A threshold should read as a deliberate line, not a leftover offcut. Width is often governed by the door reveal, but very narrow strips can look fussy and may not provide enough bearing for the stone edge. A slight arris or pencil round of 3–5 mm reduces the risk of chipping without creating a dirt trap. Deep grooves and ornate mouldings collect grit in exactly the place where footwear arrives.
Slip resistance matters on polished stone, particularly at external doors and in bathrooms. A honed or lightly textured finish is usually more forgiving underfoot. Visual contrast can help identify a level change, but excessive contrast in a small strip may make the junction look restless. The aim is a clear, quiet edge that belongs to both rooms.
Fixing and sequence
Dry-lay the threshold before fixing. Check door swing, skirting, carpet gripper positions and the line of the stone field. Bed the stone on a full, flexible adhesive bed with no hollow spots, and support the edges. Do not rely on a thin ribbon of adhesive at each end. Protect the threshold during subsequent trades; a stone strip is vulnerable to dropped tools and heavy boots before handover. Clean and seal according to the stone type and the manufacturer's advice.
A short specification checklist
- Establish finished floor levels on both sides before selecting the threshold thickness.
- Confirm door clearances, including fire doors and smoke seals.
- Decide whether the route requires level access or a gentle ramp.
- Treat the threshold as a movement joint where substrates or long runs demand it.
- Do not fix through the stone or rigidly tie stone to a moving timber floor.
- Choose a width and edge profile that look intentional and shed dirt rather than trap it.
- Coordinate the threshold with the door, carpet gripper, underlay and drainage details.
- Dry-lay, check and protect before final fixing.
The threshold may be the narrowest part of the floor, but it is also the part that announces how well the whole scheme has been considered. Specified early and detailed with the adjacent trades, it can be quiet, durable and entirely unremarkable in the best sense.